前几天在朋友圈里说要继续写博客并要转向Hugo,有两位朋友推荐用如下方式简化Hugo网站的推送。
- Hugo + GitHub Actions, 或者
- Hugo + Netlify
觉得都挺有意思,准备都试试。先从GitHub Actions开始,过两天再看看Netlify.
毕竟博客的源文件都在GitHub上,很自然的就觉得GitHub Actions会容易些。结果花了好几个小时才搞定了GitHub Actions。
为什么呢?
因为我没有用常用的方式去存放博客网站及源文件。
目前有两种方式来在GitHub上部署你的博客网站:
- 博客源文件和网站在同一个GitHub Repo里
- 申请一个共有的
<USERNAME>.github.ioRepo masterbranch存放博客网站,gh-pagesbranch存放博客源文件
- 申请一个共有的
- 博客源文件和网站在不同的GitHub Repos里
- 申请一个共有的
<USERNAME>.github.ioRepo,masterbranch存放博客网站 - 申请一个私有的
my_blogRepo,masterbranch存放博客源文件
- 申请一个共有的
我选择了第二种方式,原因很简单,第一种方式的源文件Repo是公有的,感觉安全比较低。选好后就开始去GitHub Action Marketplace去选能用的Actions。
对了,什么是Action?
要是你用Jenkins做过loadbuild或者CI(Continouse Integration), 那GitHub Actions的功能就很容易理解了。它就是"Jenkins”, 能帮你做很多loadbuild还有automation任务。Action就相当于Jenkins里面的插件,或者把它当作API也行,调用Action就能做好多定制好的任务。所以,找到对应的Action绝对能让你事半功倍。
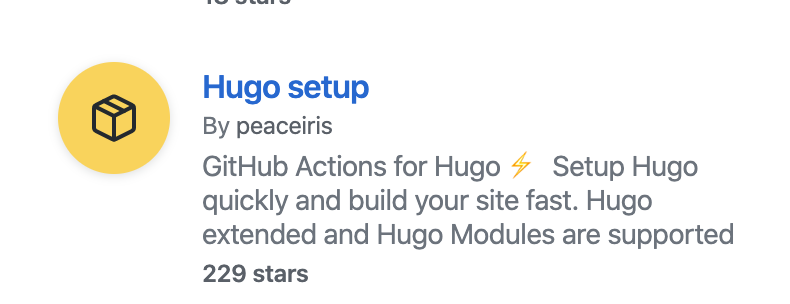
于是我在GitHub Action Marketplace上找到了这个Star最多的Action:
按照它的说明调用四个Actions就可以完成你的博客编译并部署。workflow代码如下:
name: github pages

on:
  push:
    branches:
      - master

jobs:
  deploy:
    runs-on: ubuntu-18.04
    steps:
      - uses: actions/checkout@v2
        with:
          submodules: true  # Fetch Hugo themes
          fetch-depth: 0    # Fetch all history for .GitInfo and .Lastmod

      - name: Setup Hugo
        uses: peaceiris/actions-hugo@v2
        with:
          hugo-version: '0.68.3'
          # extended: true

      - name: Build
        run: hugo --minify

      - name: Deploy
        uses: peaceiris/actions-gh-pages@v3
        with:
          github_token: ${{ secrets.GITHUB_TOKEN }}
          publish_dir: ./public
可惜,它是为第一种方式准备的。我无法使用。
那怎么办呢?
对程序员来说,好办:要是不好使,就自己写一份呗。于是花了些时间写,也进了两个坑:
- 坑一:在Macbook上运行成功的git语句在GitHub Actions里面运行错误。
-
Solution:采用personal access token的方式来运行git push
git push -f https://${{ secrets.your_personal_access }}@github.com/${REMOTE} master
-
- 坑二:开始一直用Git Submodule的方式来推送public目录下的博客网站,一直不成功。
-
Solution: 弃用submodule, 直接把博客网站clone到public目录
git clone https://github.com/<USERNAME>/<USERNAME>.github.io.git public
-
最后完成的workflow代码如下。有了这个workflow文件,每次push博客源代码到GitHub,GitHub就会自动触发下面的代码,完成
- 准备一个Ubuntu的环境
- 迁出博客源代码
- 迁出博客网站到public目录
- 安装Hugo
- 编译博客源代码成博客网站到public目录
- 进入public目录,把新生成的博客网站push到
<USERNAME>.github.ioRepo
name: build hugo web and push to github pages

on:
  push:
    branches: [ master ]
  pull_request:
    branches: [ master ]
env:
  REMOTE: "username/username.github.io.git"
jobs:
  build:
    runs-on: ubuntu-latest

    steps:
    - uses: actions/checkout@v2
      with:
        submodules: true
        persist-credentials: false

    - name: check out static web site
      run: git clone https://github.com/${REMOTE} public

    - name: install Hugo
      uses: peaceiris/actions-hugo@v2.4.9
      with:
        hugo-version: '0.69.0'

    - name: compile blog
      run: hugo -t next

    - name: add, commit and push
      run: |
        cd public
        git config --local user.email "<your email>"
        git config --local user.name "<your github user name>"
        git add .
        msg="rebuilding site `date`"
        git commit -m "$msg"
        git push -f https://${{ secrets.your_personal_access }}@github.com/${REMOTE} master